






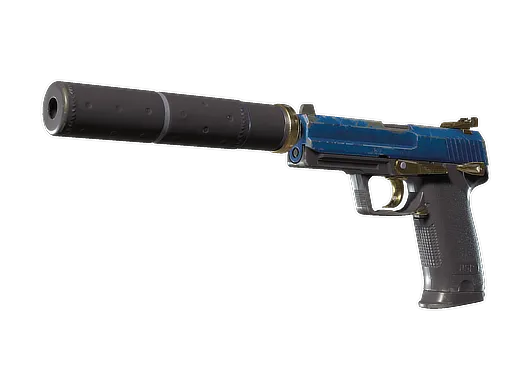





P250 | Muertos
- Battle-Scarred
Best drop
User loot
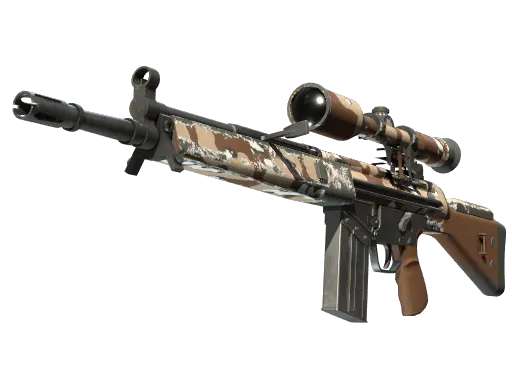

G3SG1 | Desert Storm
- Field-Tested
G3SG1 | Desert Storm
- Field-Tested
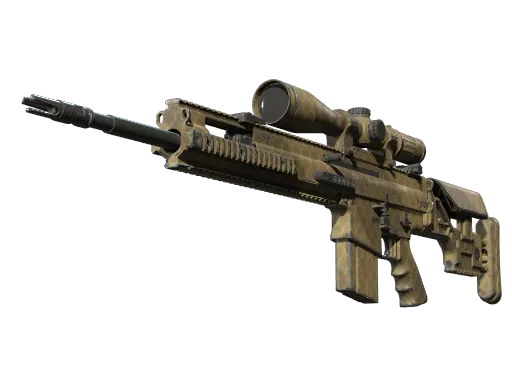
SCAR-20 | Sand Mesh
- Field-Tested
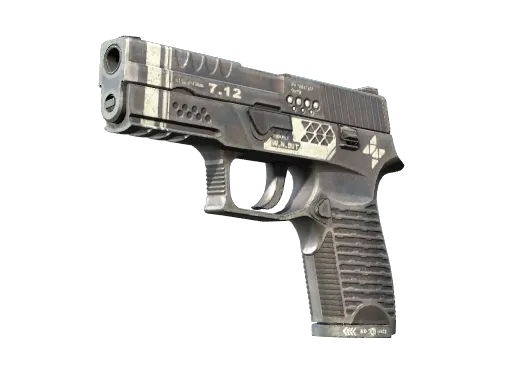

P250 | Re.built
- Minimal Wear
SCAR-20 | Sand Mesh
- Well-Worn
G3SG1 | Desert Storm
- Field-Tested
SCAR-20 | Sand Mesh
- Field-Tested
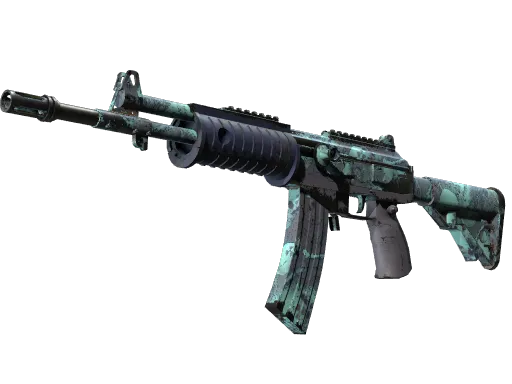

Galil AR | Cold Fusion
- Field-Tested
Galil AR | Cold Fusion
- Field-Tested
Galil AR | Cold Fusion
- Field-Tested
SCAR-20 | Sand Mesh
- Field-Tested
SCAR-20 | Sand Mesh
- Field-Tested
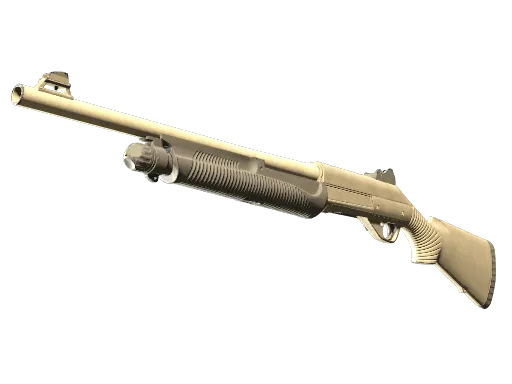
Nova | Sand Dune
- Well-Worn
SCAR-20 | Sand Mesh
- Field-Tested
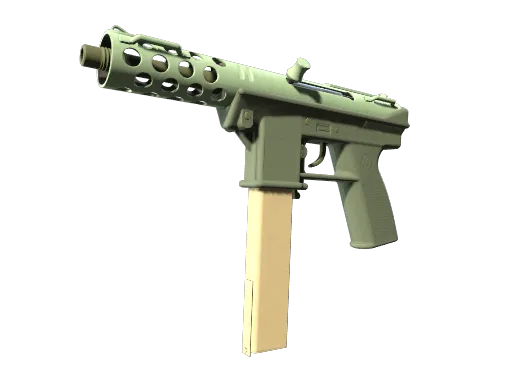
Tec-9 | Groundwater
- Minimal Wear

G3SG1 | Red Jasper
- Field-Tested

G3SG1 | Desert Storm
- Minimal Wear
Sticker | Boom Epicenter (Glitter)

Sticker | Rainbow Route (Holo)

Sticker | Winding Scorch (Foil)

Sticker | Hydro Geyser
Sticker | Hydro Geyser

Sticker | Hydro Stream
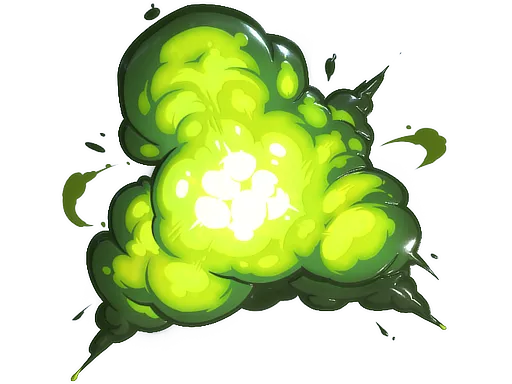
Sticker | Boom Blast (Glitter)
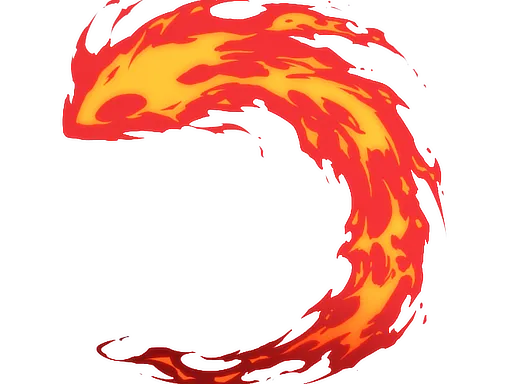
Sticker | Scorch Loop (Reverse)

Sticker | Scorch Loop

Sticker | High Heat
Sticker | High Heat

UMP-45 | Full Stop
- Field-Tested

Sticker | Boom Blast
Sticker | Boom Blast
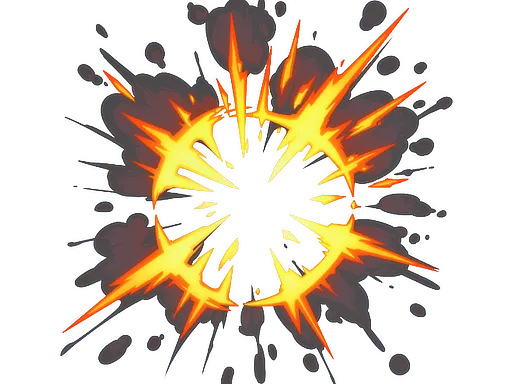
Sticker | Boom Epicenter

Sticker | Bolt Energy
Sticker | Bolt Energy
Sticker | Scorch Loop (Reverse)
Sticker | Boom Blast (Glitter)
Sticker | Scorch Loop

Sticker | Winding Scorch
Sticker | Boom Blast
Sticker | Hydro Geyser
Sticker | Bolt Energy
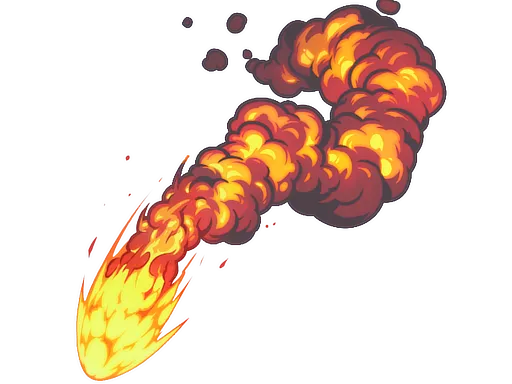
Sticker | Boom Trail
Sticker | Scorch Loop (Reverse)

SG 553 | Basket Halftone
- Minimal Wear
Sticker | Boom Epicenter
Sticker | Hydro Stream

Sticker | Hydro Wave

Sticker | Bolt Charge (Foil)
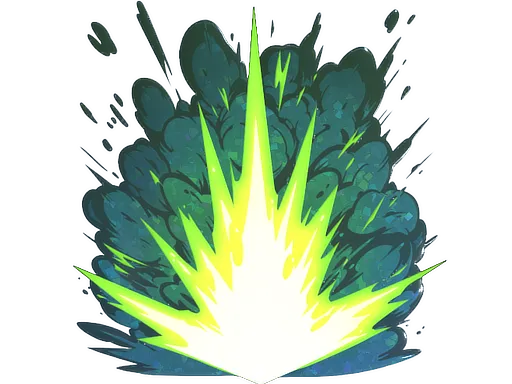
Sticker | Boom Detonation (Glitter)
Sticker | Rainbow Route (Holo)

Five-SeveN | Scrawl
- Well-Worn
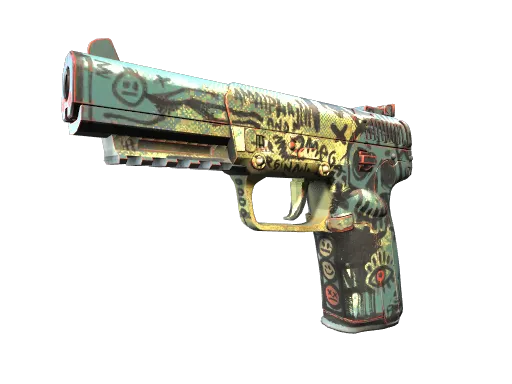
Five-SeveN | Scrawl
- Minimal Wear
Galil AR | Cold Fusion
- Field-Tested
G3SG1 | Desert Storm
- Minimal Wear

