








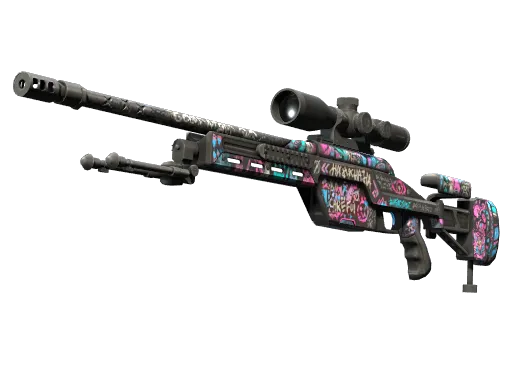


Sticker | Rainbow Route (Holo)
Best drop
User loot


Sticker | High Heat
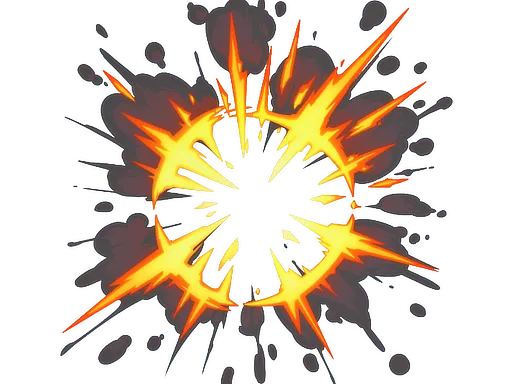
Sticker | Boom Epicenter
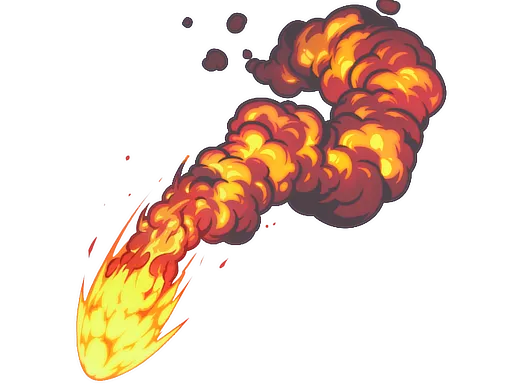
Sticker | Boom Trail
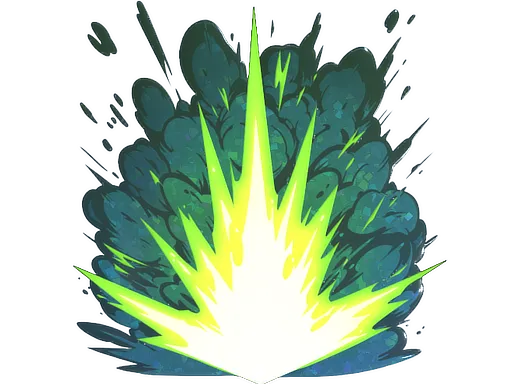
Sticker | Boom Detonation (Glitter)
Sticker | High Heat
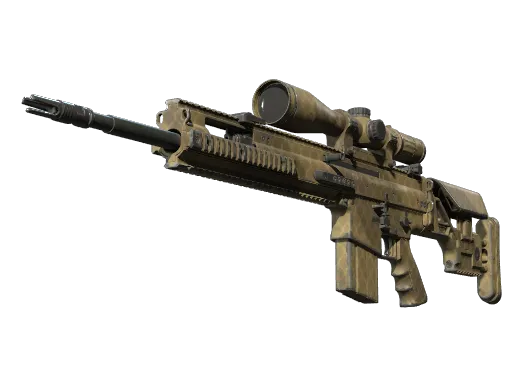

SCAR-20 | Sand Mesh
- Field-Tested
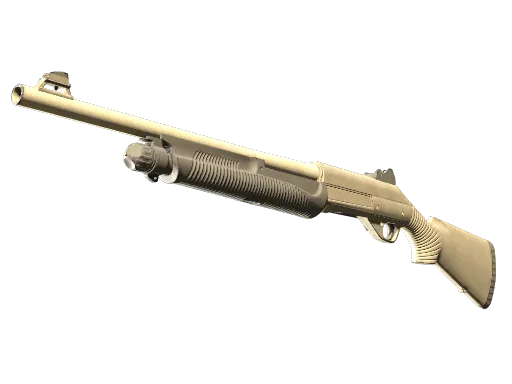
Nova | Sand Dune
- Field-Tested
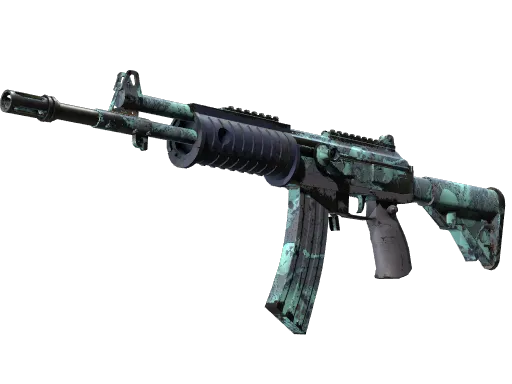

Galil AR | Cold Fusion
- Field-Tested


G3SG1 | Desert Storm
- Minimal Wear
Nova | Sand Dune
- Well-Worn
Nova | Sand Dune
- Field-Tested
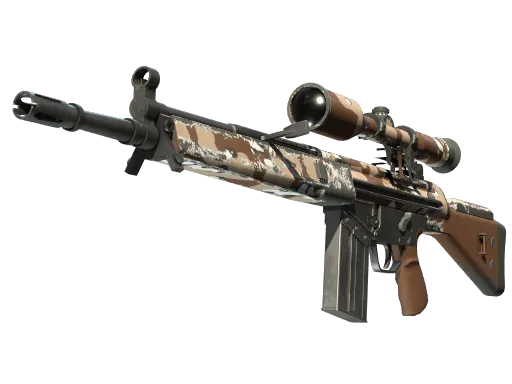
G3SG1 | Desert Storm
- Field-Tested
Nova | Sand Dune
- Field-Tested
SCAR-20 | Sand Mesh
- Field-Tested
G3SG1 | Desert Storm
- Field-Tested
Nova | Sand Dune
- Well-Worn
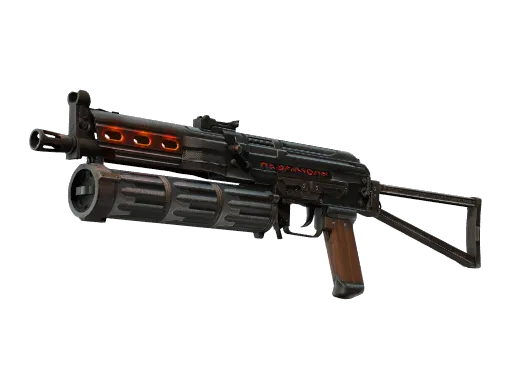
PP-Bizon | Runic
- Field-Tested
G3SG1 | Desert Storm
- Field-Tested
G3SG1 | Desert Storm
- Minimal Wear
Nova | Sand Dune
- Well-Worn
SCAR-20 | Sand Mesh
- Field-Tested
SCAR-20 | Sand Mesh
- Well-Worn
SCAR-20 | Sand Mesh
- Field-Tested
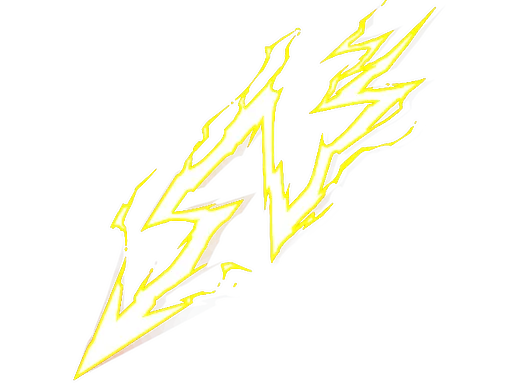
Sticker | Bolt Charge

Sticker | Scorch Loop
G3SG1 | Desert Storm
- Minimal Wear

Nova | Sand Dune
- Field-Tested
Nova | Sand Dune
- Field-Tested
SCAR-20 | Sand Mesh
- Well-Worn
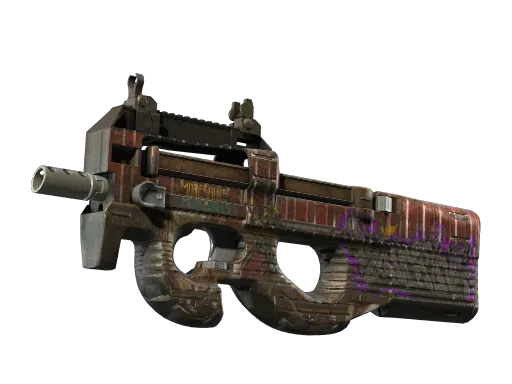

P90 | Freight
- Battle-Scarred
- StatTrak™
G3SG1 | Desert Storm
- Minimal Wear
Galil AR | Cold Fusion
- Field-Tested
Nova | Sand Dune
- Field-Tested
Nova | Sand Dune
- Field-Tested
Nova | Sand Dune
- Well-Worn
G3SG1 | Desert Storm
- Field-Tested
G3SG1 | Desert Storm
- Minimal Wear
Nova | Sand Dune
- Field-Tested
G3SG1 | Desert Storm
- Minimal Wear
G3SG1 | Desert Storm
- Minimal Wear
Sticker | Rainbow Route (Holo)
Sticker | Boom Epicenter
SCAR-20 | Sand Mesh
- Well-Worn
G3SG1 | Desert Storm
- Field-Tested
SCAR-20 | Sand Mesh
- Field-Tested
Nova | Sand Dune
- Well-Worn
G3SG1 | Desert Storm
- Minimal Wear
SCAR-20 | Sand Mesh
- Well-Worn
SCAR-20 | Sand Mesh
- Well-Worn
SCAR-20 | Sand Mesh
- Well-Worn

PP-Bizon | Runic
- Battle-Scarred
SCAR-20 | Sand Mesh
- Well-Worn
Nova | Sand Dune
- Field-Tested
Nova | Sand Dune
- Well-Worn

